Instructions for setting up Microsoft Outlook
1. Launch of the program
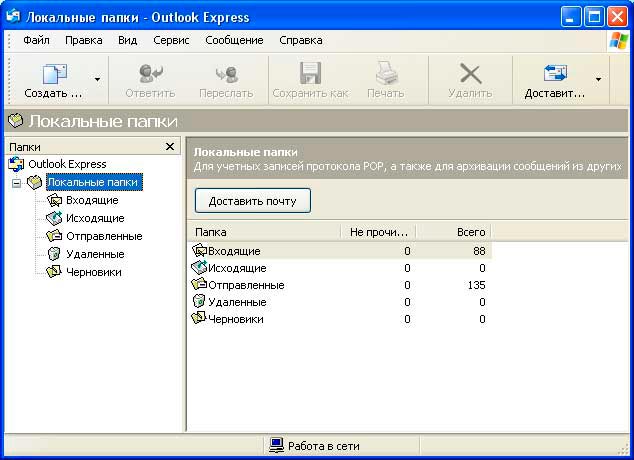
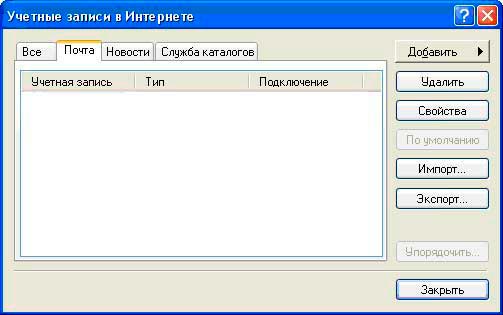
Open the Start menu — All Programs and start Microsoft Office Outllok. In «Tools», open «E-mail Accounts».

If You run the program for the first time, go to «Creating a new account».
2. Creating a new account
Select «Add a new e-mail account» and click «Next».

Select the POP3 server type, click Next.

3. Account settings
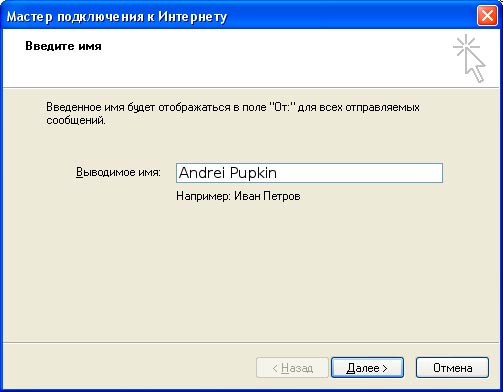
Fill in the following fields:
- In the «Your name» field, enter any acceptable name. It will be displayed in the «From» line in the emails You send.
- In the Email address field, enter the address of Your mailbox.
- In the field «Incoming mail server» (POP3) You need to enter the address of the POP3 server in the form of mail.<ваш домен=""> or the address of the server where Your mailbox is located (da1.adamant.ua/da2.adamant.ua…daN.adamant.ua/cpanel1.adamant.ua).
- In the Outgoing mail server (SMTP) field, enter the SMTP address of Your Internet provider’s server; if it does not block Your SMTP, You may specify the same values as in the previous setting.
- In the «User name» field, enter the login You set for the box as login@your_domain;
- In the Password field, enter the password from the mailbox, case sensitive (uppercase and lowercase letters are different from the server’s point of view).
- In Advanced settings, select «smtp server needs authentication» on the «outgoing mail servers» tab.
Make sure the Remember password box is checked (if not, check it). Do not click the «Verify personal record» button — it often works incorrectly. We will check the personal record at the next stage.

Click Next. In the next window, click Finish
Setup is complete!
4. Check the functioning of the mail
To check the work of the mail, please exchange letters with another mailbox (for example, on ukr.net)
Click the «Send and Receive» button or choose Service-Send and Receive from the menu. If the sent letter is received in a few minutes — the mail is set up correctly.


