Instructions for setting up Microsoft Outlook Express
1. Launch of the program
Start Outlook Express from the Windows main menu: All Programs — Outlook Express. The main program window opens, showing local folders (incoming, outcoming, sent, and deleted messages).

2. Creating a new account
Go to the menu item «Tools — Accounts…».
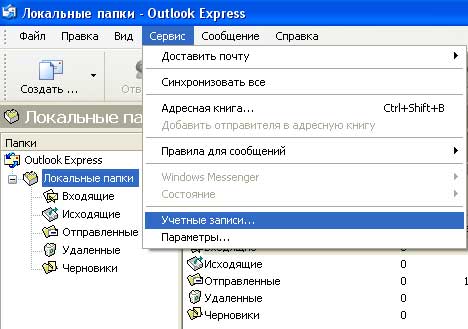
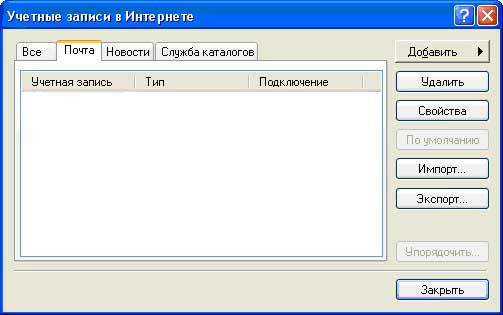
The Mail tab (it is open by default) displays already created accounts. Click the button Add-Mail.
In the Display Name field, enter any name or company name You want. This name will be displayed to the recipients of Your mails in the From field.
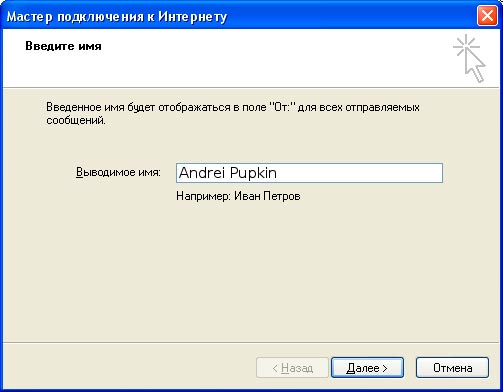
Click Next
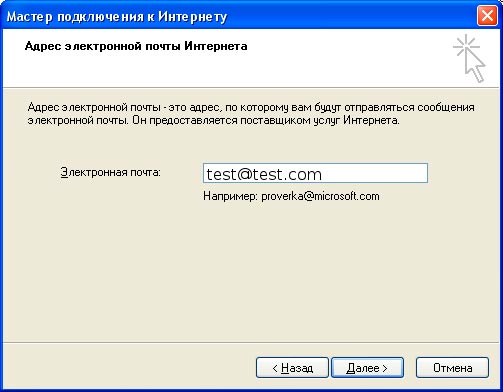
Then enter the e-mail address (address of the box, that You created in Your personal account) and click Next.
3. Account settings
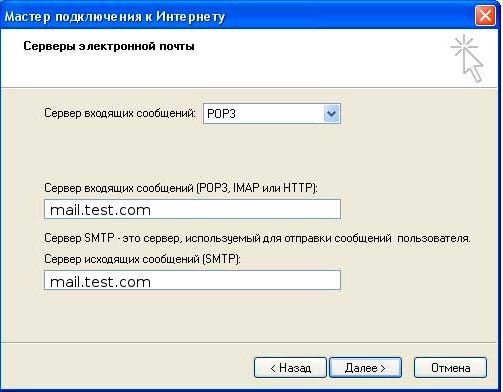
Enter the email server address into the following window:
- From the drop-down list «My incoming mail server is a», select POP3.
- In the Incoming mail server (POP3, IMAP, or HTTP) field, enter the address of the POP3 server, as mail. your_domain, or the address of the server where You have created the mailbox, such as da1.adamant.ua.
- In the Outgoing mail server (SMTP) field, enter the SMTP server address of Your Internet provider (the company that provides You with Internet access services) or, if Your Internet provider does not block port 25 (smtp port): smtp. your_domain or the address of the Adamant mail server where You have created the mailbox: da1.adamant.ua
Check that You have entered all the data correctly and click Next.
In the next window enter the account data:
- in the Account name field, enter the login You specified when creating the mailbox as user@domain.com.ua, where user is the name of the mailbox, and enter Your domain instead of domain.com.ua.
- In the Password field, enter Your the password that You specified when creating the mailbox. The password must be entered taking into account uppercase or lowercase.
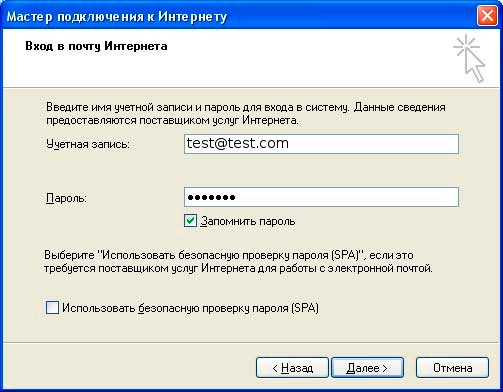
Count the number of dots in the Password field and compare it to the number of characters in Your password. If the number is the same — check the Remember Password and click Next, and then click the button «Finish».
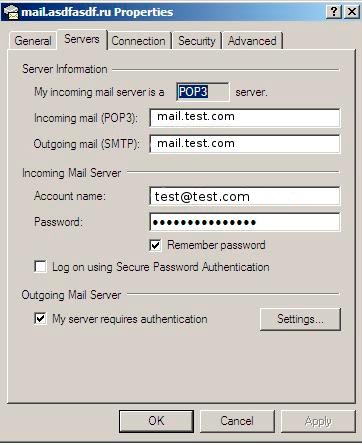
Then go to the menu item «Tools-> Accounts», select Your account and click the button «Settings». On the «Servers» tab, check the box next to «User authentication».
4. Check the functioning of the mail
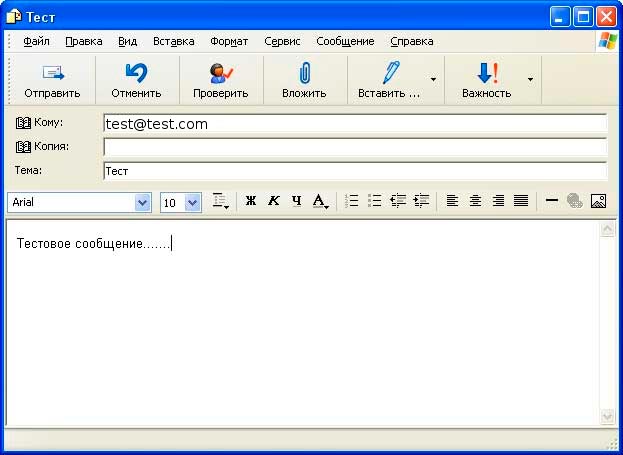
To make sure Your mail is working properly, send a message to Yourself. To do this, select the «Create a new message» button in the toolbar. A window will appear in which You enter Your e-mail address in the To: field, a name in the Subject field, and any text in the large text box, and then click the button «Send» on the toolbar in this window.
In the main program window, click «Deliver mail». Go to the Inbox folder, where there should be a new message (not necessarily one, there can be several). If You have received Your own message, which You created above then the mail works!